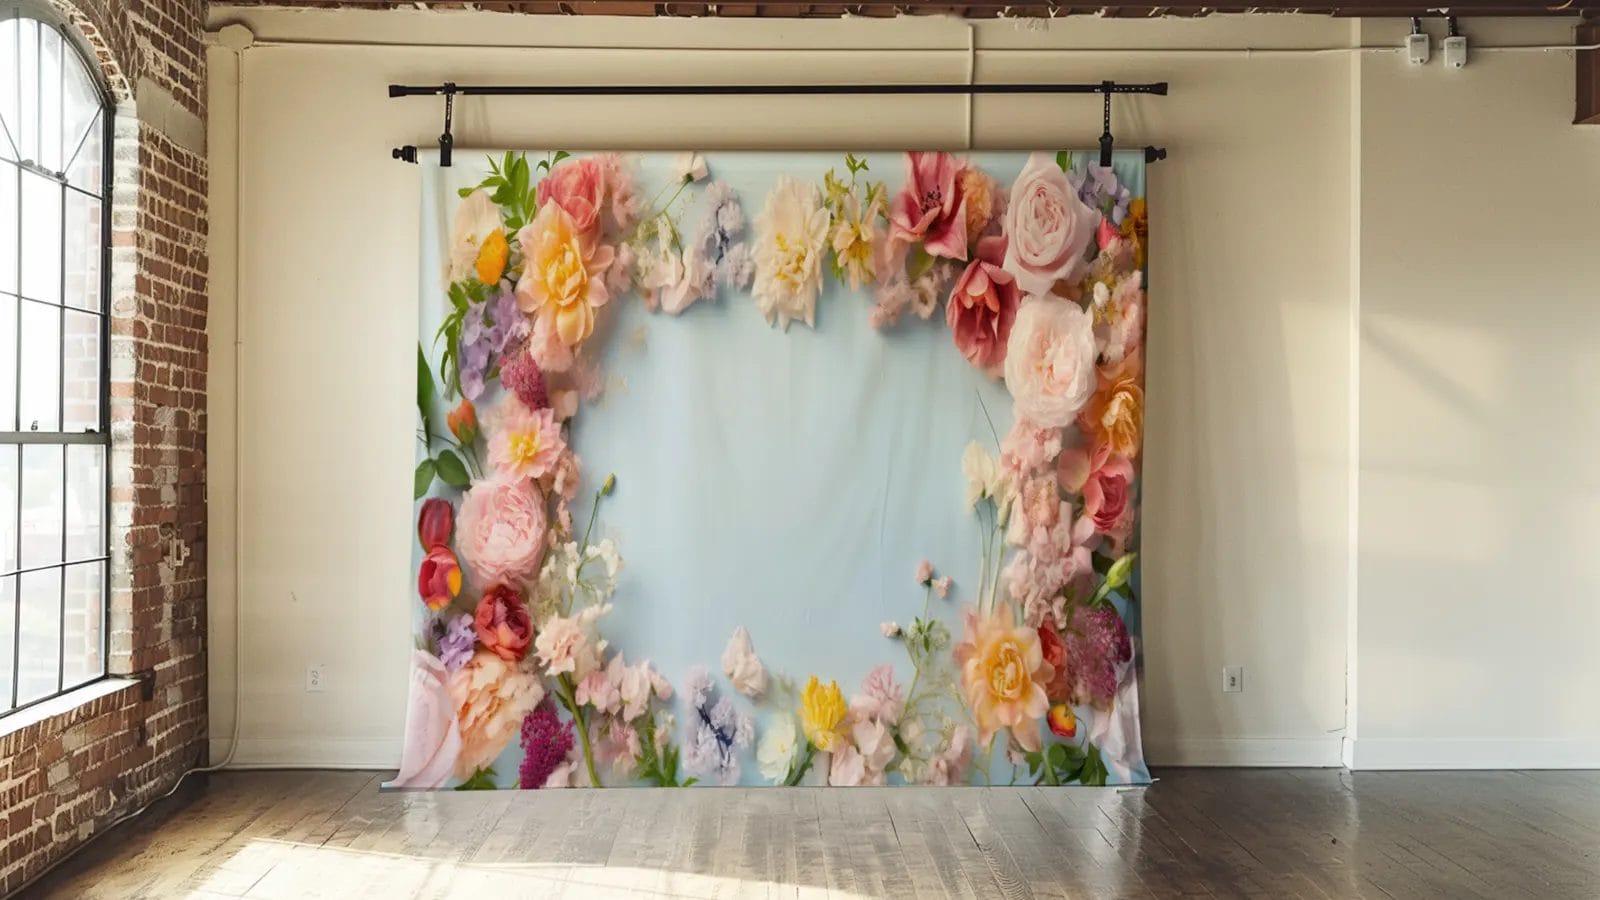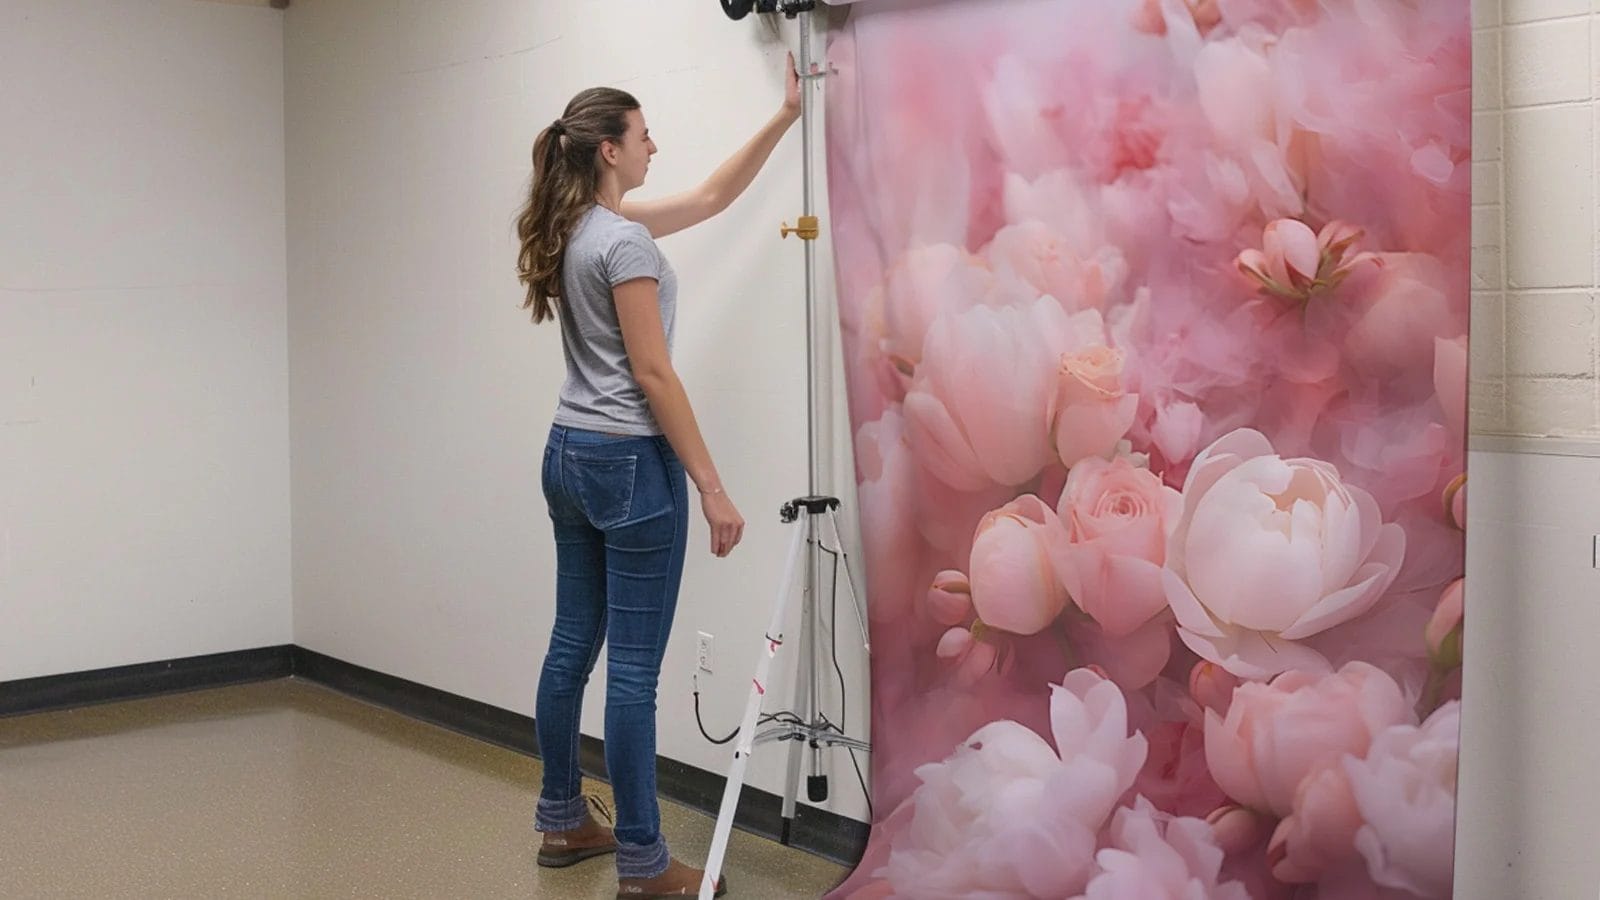
Looking to add a touch of pizzazz to your space? Hanging a backdrop on a wall is a fantastic way to inject style and personality into any room. Whether dressing up a party, creating a unique photo background, or adding a pop of color to a plain wall, this simple DIY project will elevate your space.
In this article, we will guide you through hanging a backdrop on a wall step-by-step. Get ready to transform your space and unleash your creativity with this fun and easy project!
Key Takeaways
- Select a clean, obstruction-free wall space and measure its dimensions for a perfect fit.
- Install command hooks or brackets at the determined height, ensuring they are level for an even hang.
- Attach the backdrop to the hooks using a fishing line or mounting tape, adjusting the tension to avoid wrinkles.
- Double-check the backdrop's alignment with a level. Adjust it as necessary to maintain a straight, professional appearance.
- For long-term use and aesthetic maintenance, store the backdrop properly in a protective cover away from direct sunlight.
Preparation
To ensure your backdrop hangs smoothly, thoroughly clean the wall surface. Any dirt or debris can prevent hooks or brackets from adhering correctly.
Next, you'll need to determine the ideal height for your backdrop. This height should align with the visual focus you want to achieve. Mark the spots on the wall where the hooks or brackets will go. Make sure these marks are at your predetermined ideal height and spaced evenly to provide stable support.
Attach the hooks or brackets firmly to the wall at these marks. Use a level to double-check that everything is aligned correctly. This step ensures that your backdrop will hang straight and look professional.
Doing this right leads to a professional finish, making your backdrop look seamless and striking when viewed.
7 Methods for How to Hang a Backdrop on a Wall
You have several ways to hang your backdrop. A frame or stand provides stability and ease of assembly. Command hooks offer a damage-free solution, ideal for temporary setups.
If you're looking for a more permanent fixture, consider mounting tape, tension rods, or even nails and screws for secure attachment.
1. Using a Frame or Stand
Consider using a DIY frame for your backdrop hanging in a professional and clean presentation. You can easily construct a frame using wooden pieces, securing them with glue or nails to create a stable foundation. Attach eye hooks around the frame to make it easier to hang and adjust. This setup ensures a professional appearance and allows you to customize the backdrop's positioning on the wall effortlessly.
A stand, alternatively, offers the flexibility to move your backdrop as needed. It's perfect for events or photography sessions where you might need to quickly change locations or backdrop angles. Both options provide a smooth, taut display, enhancing the overall look of your space.
2. Command Hooks
While a frame or stand works well in some situations, command hooks offer a simple, damage-free alternative for hanging the backdrop.
To begin, select command hooks that can handle the weight of your backdrop. Carefully place the hooks at the desired height on the wall. Space them evenly to ensure that your backdrop hangs properly.
To avoid mishaps, set the hooks for the recommended time before hanging your backdrop. This method is ideal because it allows for easy removal of these hooks without leaving any marks or damaging the wall.
3. Mounting Tape
Mounting tape offers a quick and easy solution for hanging lightweight backdrops without damaging your walls. This method is perfect when you need a temporary setup that won't ruin your wall's surface. Simply ensure the wall is clean and dry before applying the tape for optimal adhesion.
Mounting tape is versatile and has various strengths to match different surface requirements. However, it's best suited for lighter materials. Heavier backdrops might need a more robust support system.
4. Tension Rod
Tension rods offer an adjustable and damage-free option for quickly hanging backdrops in various settings. If you're looking for a temporary solution, a tension rod acts like a curtain rod but without the need for screws or nails.
Simply adjust the rod to match the width of your space. It will grip the walls with enough tension to support a lightweight fabric backdrop. This method is ideal for events or temporary displays because installing and removing is straightforward.
Your walls won't sustain any damage. You can easily adjust or change the backdrop's position to achieve the perfect fit and appearance.
5. Nails or Screws
For a more permanent backdrop setup, you can use nails or screws to secure the fabric directly to your wall. When choosing nails or screws, consider the weight and material of your backdrop to ensure they can adequately support it. Locating the studs in your wall is crucial, as they provide the strongest hold. Use a level to verify everything is straight and aligned before hammering or drilling.
If your backdrop is particularly heavy, don't skip on wall anchors. They'll add extra stability and support and minimize the risk of damaging the backdrop and the wall.
6. Velcro
While nails or screws provide a sturdy hold, Velcro offers a flexible alternative for hanging your backdrop without damaging the wall.
Before attaching the Velcro, make sure the wall surface is clean and dry. This preparation helps create a strong bond that securely holds your backdrop in place.
You'll appreciate how Velcro provides a temporary solution. It allows you to easily remove or reposition your backdrop without drilling holes.
This method is convenient if you're in a venue where you can't make permanent alterations. To avoid any mishaps, make sure the Velcro strips you choose can support the weight of your backdrop.
7. Wall-Mounted Curtain Track
Installing a wall-mounted curtain track provides a flexible and professional method for easily hanging your backdrop. This system features adjustable curtain tracks, making altering the height and width simple based on your current needs.
Start the installation by using screws or brackets to secure the track to your chosen wall, making sure to fix it tightly for stability. The design of these curtain tracks allows them to accommodate different backdrop sizes, providing a wide range of display options.
As you slide your backdrop onto the track, you'll notice how effortlessly it moves for quick adjustments. The result is a clean, professional-looking appearance that enhances the overall setup of your event or presentation space.
Maintenance and Storage Tips for Your Backdrops
Properly storing your backdrop in a dry, clean area helps prevent damage and keeps it looking its best. For effective maintenance, roll your backdrops loosely to sidestep wrinkles and potential damage. This storage method ensures the longevity of your backdrops, keeping them ready for future use.
It's also crucial to use a protective cover or bag to shield your backdrops from dust and debris. This will further prevent any unsightly marks or deterioration.
Avoid placing your backdrops in direct sunlight, which can cause fading and discoloration. Regularly inspect your stored backdrops for any signs of wear or damage. Addressing these issues promptly can save you from costly replacements and ensure your backdrops look professional.
Conclusion
You've got all you need to hang your backdrop smoothly now! Just remember to keep your tools handy and the area clean as you work.
Whether using hooks, brackets, or a stand, ensure everything is level and secure. Don't forget to stretch the backdrop evenly to avoid any wrinkles.
After the event, take it down carefully and store it properly to keep it in great shape for next time. You're all set for a fantastic display!
FAQs
What can I do to hang a backdrop on the wall?
You can hang your backdrop with curtain rods, DIY frames, pins, staples, or tape. The method you choose depends on whether you want a temporary or permanent setup, as well as the backdrop's weight.
How can I hang a backdrop without nails?
To hang a backdrop without nails, you can use adhesive strips, suction cups, or command hooks. These options prevent wall damage and are easy to apply and remove, ensuring a clean, professional look.
Can I hang a backdrop with command strips?
Command strips are not strong enough to hang a backdrop. Instead, opt for more secure methods like hooks or clamps to prevent damage from a falling backdrop.
How do I set up a backdrop at home?
First, choose a clear wall space to set up a home backdrop. Measure the area, gather brackets, a level, and a tape measure, and securely attach the brackets. Then, hang and straighten the backdrop.


