
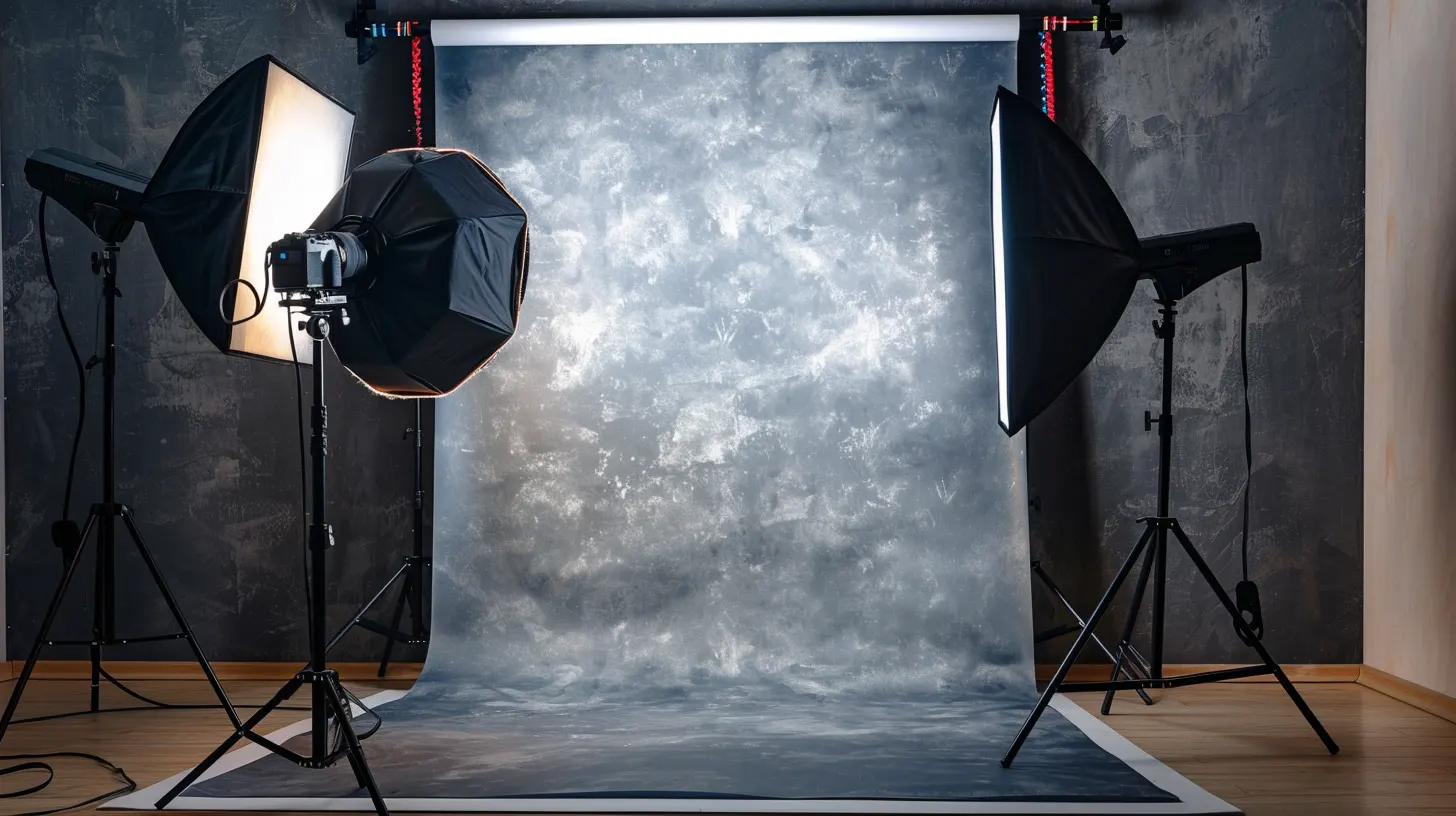
Preparing to shoot with a backdrop involves more than just setting up a prop. It is about creating the foundation of your image. Think about the size of your studio, the color of your backdrop, and how it will complement your subject. But that's just the beginning. You'll also need to master the art of lighting, adjusting your setup to create depth and evoke the desired mood. As you try out different techniques, you'll discover how to create beautiful backdrop shots. First, you need to choose the right backdrop for your vision.
Key Takeaways
- Choose a backdrop that complements the subject's color and style. Consider the studio size and subject when selecting a backdrop.
- Maintain a safe distance (at least 6 feet) between the subject and backdrop for a better composition.
- Adjust the lighting to balance the fill light and subject light, controlling the brightness and mood of the backdrop.
- Experiment with lighting setups and angles (such as 45 degrees) to achieve the desired mood or theme.
- Hang the backdrop at the right height to create a seamless blend and ensure a professional, realistic appearance.
Types of Photography Backdrop
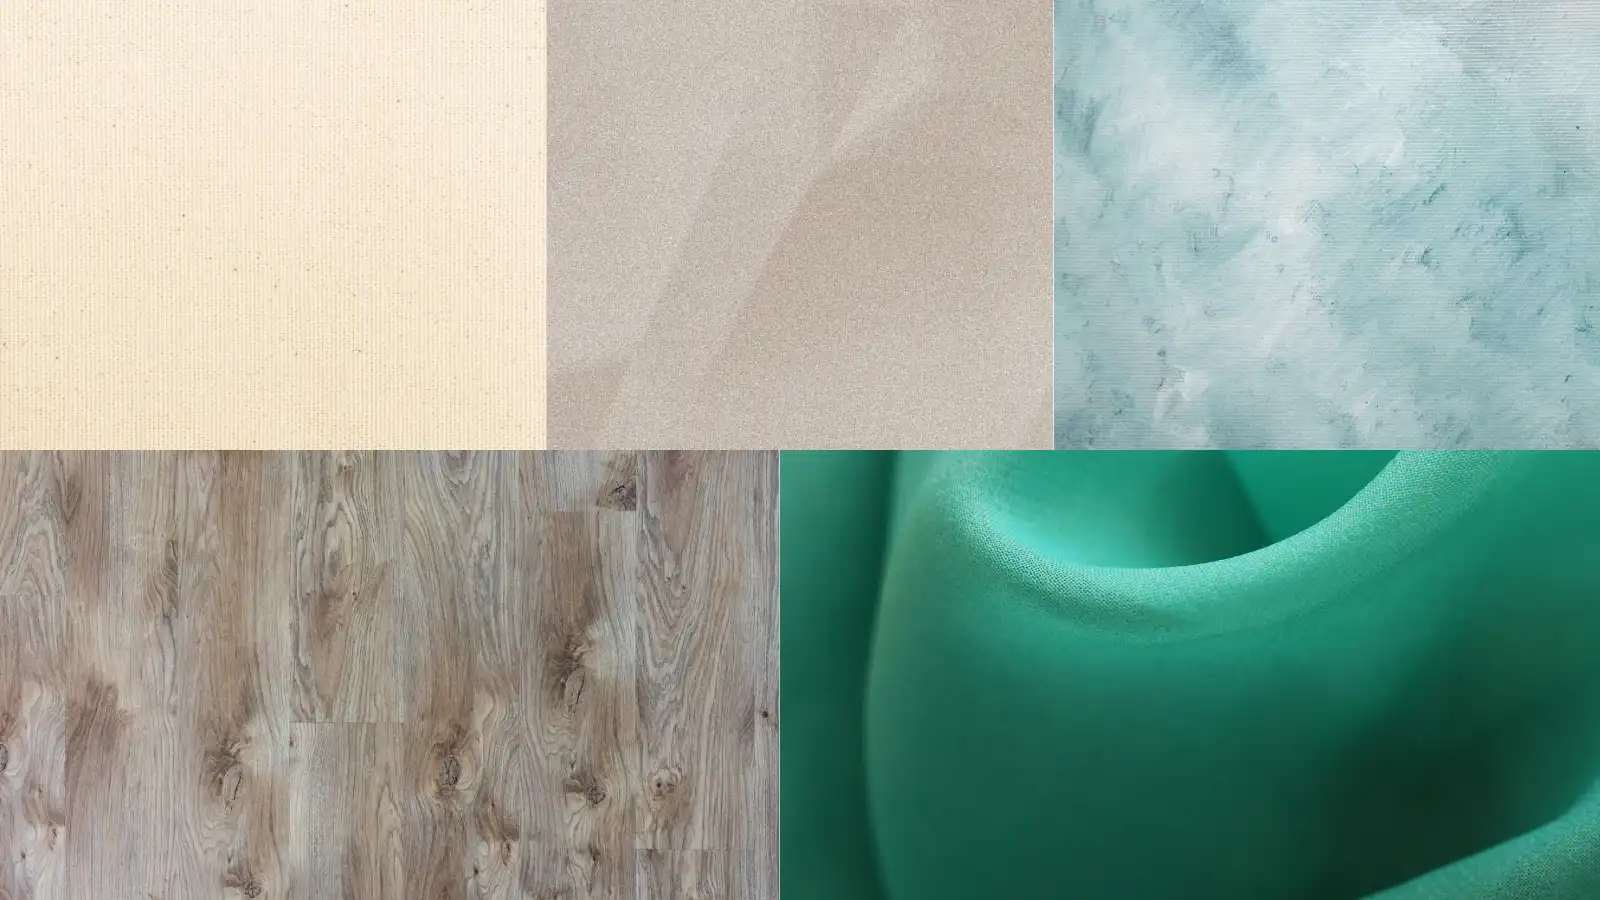 As you explore backdrop materials, you'll come across several options that cater to different needs and preferences.
Muslin Backdrop
You'll find muslin backdrops to be a versatile and cost-effective option for capturing stunning images. It offers a smooth background in various colors and patterns. As a photographer, you'll appreciate their durability and ease of maintenance.
Muslin backdrops are also lightweight and portable, making them perfect for on-location shoots or studio setups. You can create various looks for your photoshoots with their smooth surface and easy dyeing ability. Plus, they're a cost-effective option that provides a smooth background for capturing stunning images.
Seamless Paper Backdrop
With seamless paper backdrops, you can create a smooth, non-reflective surface ideal for capturing solid color backgrounds in your photography. The backdrops are easy to use and come in many colors, so they can be used for different types of shoots.
As a photographer, you can choose from a range of backdrop sizes to suit your needs, from small to large. So you can capture the full-length portrait or product shot. Seamless paper backdrops are commonly used in studio settings for portrait, product, and fashion photography.
They're easy to set up, store, and replace, making them a popular choice among photographers. With seamless paper, you can achieve a seamless look that complements your subject, creating stunning, professional-looking images.
Painted Canvas Backdrop
Painted canvas backdrops bring a touch of elegance and sophistication to your photography studio. It offers a unique and personalized background that elevates your images to a professional level. These high-quality backdrops are ideal for studio use. They provide a consistent and artistic look that enhances the overall aesthetic of your photos.
The hand-painted designs on canvas backdrops add a unique touch to your images, making them stand out. Although pricier than other options, painted canvas backdrops are durable, waterproof, and can withstand various photography sessions. They're a worthwhile investment for professional studios seeking to elevate their photography game.
Vinyl Backdrops
Vinyl backdrops offer a reliable and versatile solution for capturing high-quality images. As a photographer, you'll appreciate the durability and low-maintenance of vinyl backdrops, which are wrinkle-free and machine washable.
This makes them perfect for busy studios where time is of the essence. Vinyl backdrops are also suitable for digital printing, allowing for vibrant colors and high-quality images.
Whether you're shooting portraits, still-life, or product photography, vinyl backdrops provide a professional and polished look to your photos. With their versatility and ease of use, it's no wonder vinyl backdrops are a popular choice among photographers.
Polyester Backdrops
You'll find polyester backdrops to be an excellent choice for photography. It offers a durable and versatile solution for capturing stunning images. As a photographer, you'll appreciate the wrinkle-resistant quality of polyester backdrops, ensuring a smooth, professional look in every shot.
Plus, these backdrops are a breeze to maintain – simply wipe them clean with a damp cloth, and you're good to go! The lightweight, easy-to-transport design makes them perfect for on-location shoots.
How to Use a Photography Backdrop
 When you set up a photography studio, consider the size of the studio and the subject. You'll also need to choose an appropriate backdrop color that complements your subject and desired photography style.
Consider the size of the studio and photo subject.
Consider the dimensions of your studio space and the size of your photo subject. Choose a perfect backdrop that harmoniously fits both to create a flawless composition.
A larger backdrop is ideal for full-body portraits or group shots, while smaller backdrops work well for headshots or close-ups. Ensure the backdrop size aligns with your studio setup and the number of subjects you plan to photograph.
Also, consider the subject distance to avoid shadows and maintain a clean composition. Choose the correct backdrop size to improve the look of your photos and make your subjects stand out.
Choose an appropriate backdrop color.
Choose a background color that goes well with your subject's clothes, skin tone, and style to make a beautiful picture.
When choosing a backdrop color, consider the mood and tone you want to convey in your photo. Ensure the color doesn't distract from the main subject. You can prefer a solid backdrop in your small home studio.
Experiment with different colors to see how they impact the overall look and feel of your photos. Take into account the lighting conditions and how they interact with the backdrop color to achieve the desired effect.
Collaborate the light with the backdrop.
Place your subject at the right distance from the backdrop to ensure an effective combination of light with your backdrop. This will prevent strong shadows and create a clear separation.
Adjust your lighting to complement the backdrop, enhancing the overall look and feel of the photo. Consider the impact of light direction and intensity on the backdrop to create depth and dimension in your photos. Use a backdrop stand to easily switch between different backdrops and lighting configurations.
Tips and Tricks for Using Backdrop
When setting up your backdrop, remember to maintain a safe distance between your subject and the background. You'll also want to hang your backdrop at the right height to create a realistic, seamless look.
Don't let the subject be too close to the backdrop.
Keep a safe distance between your subject and the backdrop. Proximity can lead to distractions and a loss of focus on the main attraction. Keep your subject at least 6 feet away from the backdrop to avoid distractions and maintain focus on the subject. This distance helps create a diffused backdrop, enhancing the overall quality of the photo. By maintaining a proper distance, you'll prevent shadows and achieve a clean, professional look. Adequate spacing between the subject and backdrop also allows for better composition and separation in the image.
Hang the backdrop at the right height to make it look realistic.
Position the backdrop at a height that blends seamlessly with the floor for realistic photographs. Make sure it does not touch the ground. Adjust the backdrop height based on your subject's positioning and the desired composition of the shot. You can use backdrop stands or wall hooks to ensure the backdrop is securely in place at the correct height.
Backdrop shots require the fill light and subject light for optimal results.
To capture stunning backdrop shots, you'll need to master the art of balancing fill light and subject light. These two elements work in tandem to create a well-exposed and visually appealing background.
A solid color backdrop needs proper fill light to evenly light it up and separate the subject from the background. By using a dedicated light source for the backdrop, you can control the brightness and mood of the background. Adjusting the intensity of the fill light can also achieve the desired effect.
Place the light correctly.
By angling your light source correctly, you'll be able to create a professionally lit backdrop. Position your light source at a 45-degree angle to the backdrop to avoid casting shadows. Use a soft box or umbrella to diffuse the light, creating a smooth, even illumination on the backdrop.
Ensure the seamless paper is stored upright.
Store your seamless paper rolls upright to maintain their smooth, non-reflective surface and prevent sagging. Proper storage is crucial to extend the life of your backdrops.
When you store your seamless paper upright, you're ensuring it remains in pristine condition for your next photoshoot. By doing so, you'll prevent wrinkles and damage, maintaining a clean and professional-looking backdrop.
Conclusion
By mastering the art of using a backdrop, you've unlocked a world of creative possibilities. You learned how to choose the right backdrop size, pick a complementary color, and manipulate light for depth and mood in your studio.
With practice, you'll perfect your lighting setups and experiment with angles and intensities to capture stunning images. Now, go ahead and get creative with your photography!