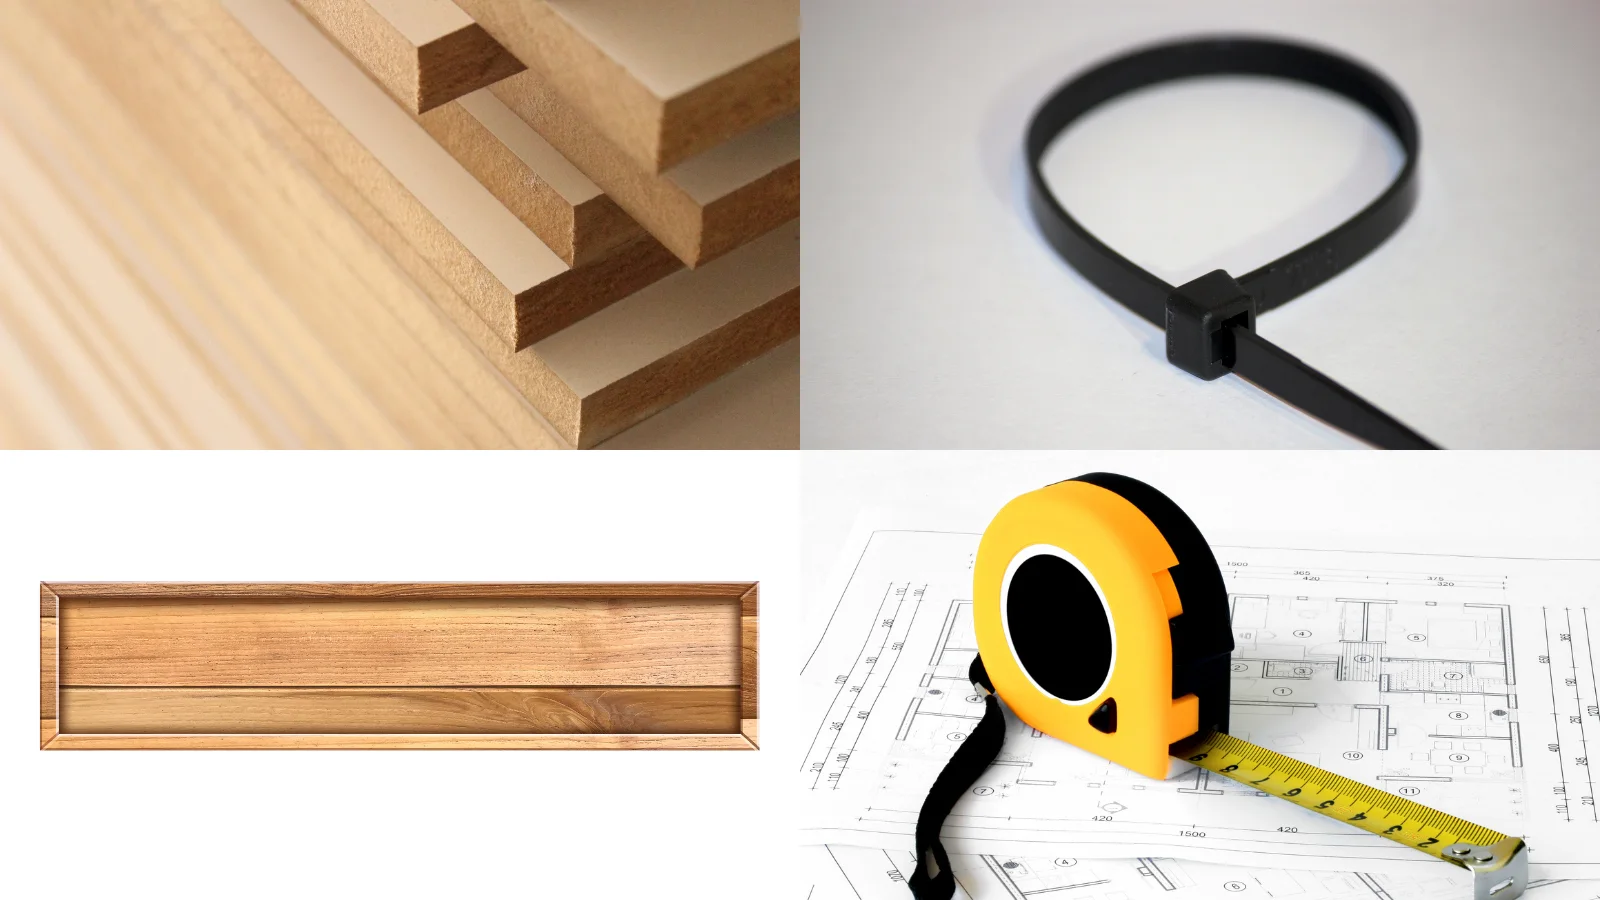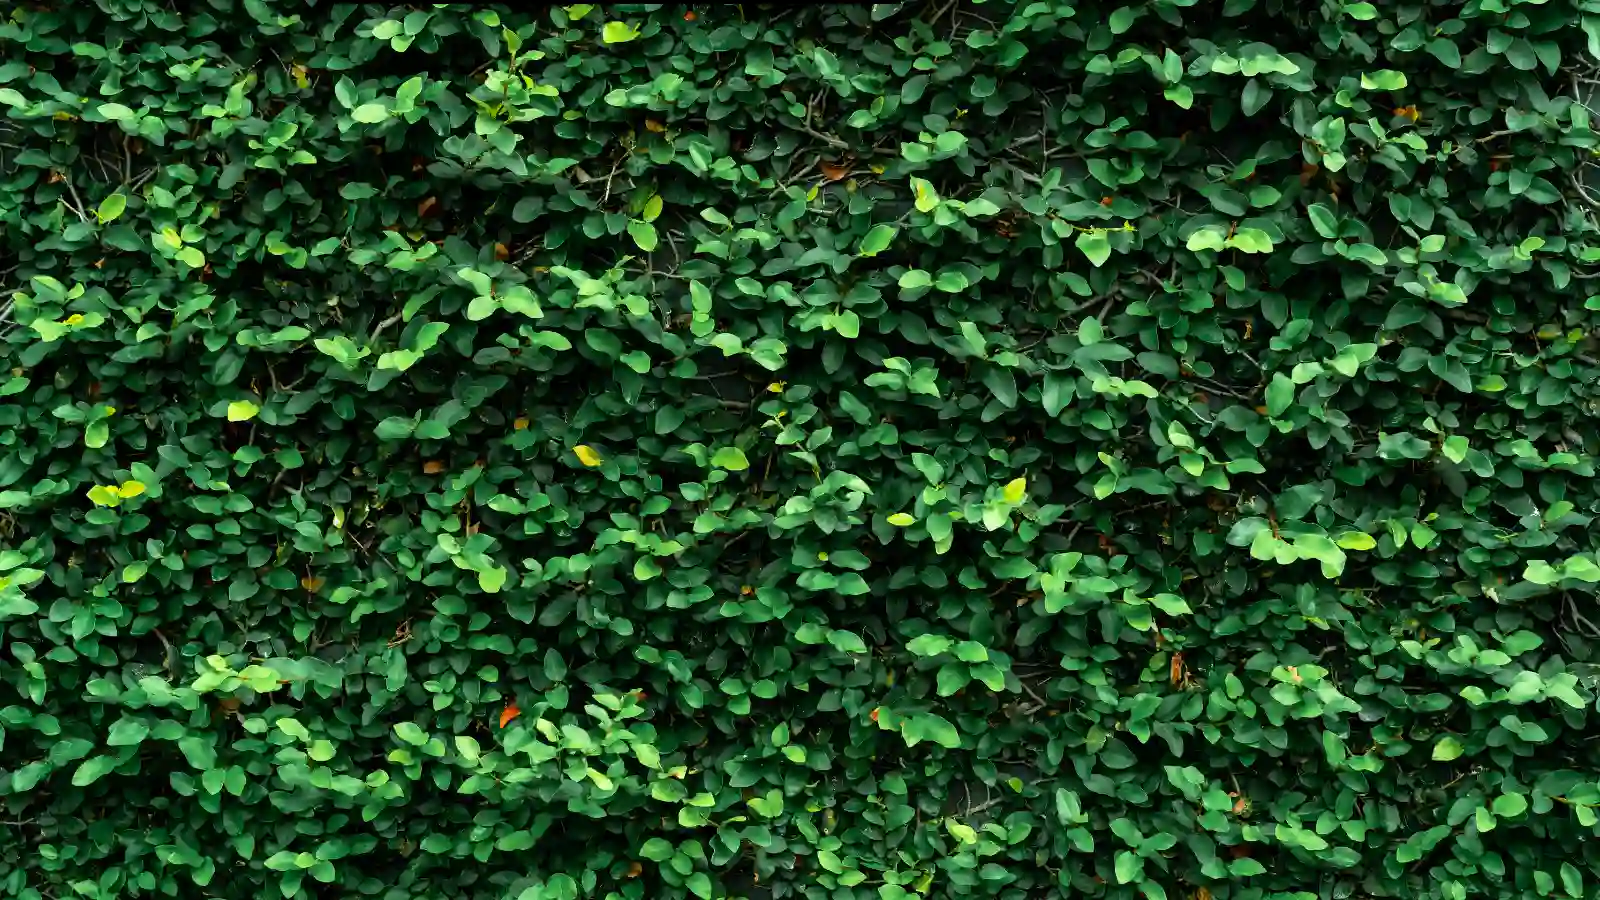
You're about to transform a plain backdrop stand into a lush, eye-catching greenery display. To get started, gather your essential materials, including artificial boxwood panels, zip ties, scissors, and a sturdy backdrop stand. With these basics covered, you'll be ready to secure the boxwood panels to the stand using those trusty zip ties. Refine your creation by trimming and measuring carefully to ensure a perfect fit. And that's when the real magic happens - but we'll get to that in just a minute.
Key Takeaways
- Use artificial boxwood panels as the base for a natural-looking greenery backdrop, securing them with 8-inch zip ties.
- Trim excess zip tie length with scissors for a professional finish and a tidy setup.
- Choose a sturdy backdrop stand that supports the weight and size of the panels, ensuring stability.
- Measure the stand's dimensions accurately with a measuring tape to ensure a seamless setup.
- Assemble all necessary materials, including panels, zip ties, scissors, and clamps, to efficiently build a beautiful greenery backdrop stand.
Gather Materials
 Now it's time to gather the essential materials to bring your greenery backdrop stand to life! You'll need artificial boxwood panels to create the lush green backdrop.
Artificial boxwood panels
Gather a set of artificial boxwood panels measuring 18x18 inches to create the foundation of your lush greenery backdrop stand. These panels will provide a natural-looking base for your greenery arrangement.
Zip ties
You'll need a stash of sturdy zip ties, measuring at least 8 inches in length, to securely fasten the greenery to the backdrop stand. These zip ties will provide a secure hold for the greenery panels. Make sure the zip ties click into place for a tight and secure attachment. You'll use them to connect the boxwood panels at the corners and along the edges of the backdrop stand.
Scissors
Choose scissors that are sharp and easy to handle for precise cutting of cable ties and other materials. Keep them within reach for quick adjustments and trimming while assembling the stand.
Backdrop stand
Your backdrop stand should be strong and stable enough to hold the weight and size of the boxwood panels securely.
Measuring tape
Use your measuring tape to accurately measure the height and width needed for your greenery backdrop stand. Consider the size of the backdrop panels and how they'll align within the measured space. Double-check your measurements to avoid any inaccuracies that could affect the stability and overall appearance of the backdrop stand.
Step-by-Step Tutorial: How to Make a Backdrop Stand Greenery
 Now it's time to bring your backdrop stand to life!
Step 1: Measure the area of the boxwood backdrop.
How wide and tall does your boxwood backdrop need to be to create an immersive greenery setting? What's the total square footage you need to cover with lush foliage? Measure the area of your boxwood backdrop to determine the size needed for the greenery coverage.
Calculate the number of boxwood panels required based on the measurements of the backdrop area. Take into account any adjustments needed to connect greenery to the backdrop stand securely.
Step 2: Secure the artificial boxwood panels with zip ties, making sure they fit snugly.
Secure each artificial boxwood panel by threading a zip tie through the corners of the grid. Please ensure a snug and secure fit that eliminates any gaps or shifting. This step is crucial to maintaining a seamless greenery backdrop.
As you attach the panels, make sure they fit snugly, with no loose ends or overlapping. Use at least 8-inch-long zip ties to ensure a secure connection. Insert the zip ties through the grid corners of the boxwood panels to prevent any shifting or gaps.
Step 3: Trim off excess zip ties.
Trim the extra length of zip ties carefully with scissors near the knot; be careful not to harm the panels or weaken the hold. This step is crucial in maintaining a clean and polished look for your backdrop stand.
You'd like to ensure that the zip ties are neatly trimmed to create a professional and seamless backdrop presentation. Remove any excess length of zip ties to prevent them from being visible or causing a distraction.
Take your time and be gentle when trimming, as you don't want to compromise the security of your backdrop stand. By trimming off the excess zip ties, you'll create a clean and polished finish that will make your backdrop stand out.
Step 4: Attach the fixed boxwood panels to the backdrop stand.
Fix the boxwood panels to your backdrop stand to create a strong and attractive setup for your green backdrop.
To do this, use zip ties to securely attach the panels to the backdrop stand at multiple points for stability. Make sure the backdrop covers the stand fully to create a seamless greenery backdrop.
Utilize clamps for additional support during the attachment process to ensure the backdrop stays in place. Secure the backdrop at the corners and along the bar of the stand to prevent any movement or slippage.
Step 5: Add additional floral decorations to the greenery backdrop.
How can I make my greenery-covered backdrop more vibrant by adding colorful flowers or more greenery for a colorful and textured look?
You can add additional floral decorations to create a visually appealing display. Choose flowers or greenery that complement the existing backdrop, and secure them with zip ties or floral wire.
Conclusion
You have created a beautiful backdrop adorned with greenery! Your attention to detail and precision have paid off. Stand back and admire your handiwork - the artificial boxwood panels now transform any setting into a lush oasis.
Your new DIY skills can enhance photo shoots, events, and decor with a natural touch of elegance. Your backdrop stand's greenery is now a beautiful focal point, ready to impress!
