
You're about to master the art of folding a collapsible backdrop. It is a crucial skill for any photographer or event planner. Start by grasping the right and left sides of the backdrop firmly, ensuring even hand placement for stability. As you move both sides together, you'll form a 'V' shape, aligning the edges carefully to maintain structure. Next, you should secure the top edges and fold the bottom section up to make a small circle. Want to know the secret to a neat and professional storage? Keep going to find out.
Key Takeaways
- Hold the backdrop firmly with both hands on the right and left sides to ensure stability.
- Form a 'V' shape by bringing both sides together carefully, keeping the frame straight to maintain structure.
- Overlap the top edges, ensuring a snug fit, to prevent bulges and misalignment in the backdrop.
- Fold the bottom section to form a circle, aligning the bottom edge with the top edge of the backdrop.
- Store the folded backdrop in a carry bag, maintaining a circular shape for manageable storage.
How to Fold a Collapsible Backdrop
Now it's time to break down the folding process into manageable steps.
Step 1: Hold the right and left sides of the backdrop with your hands.
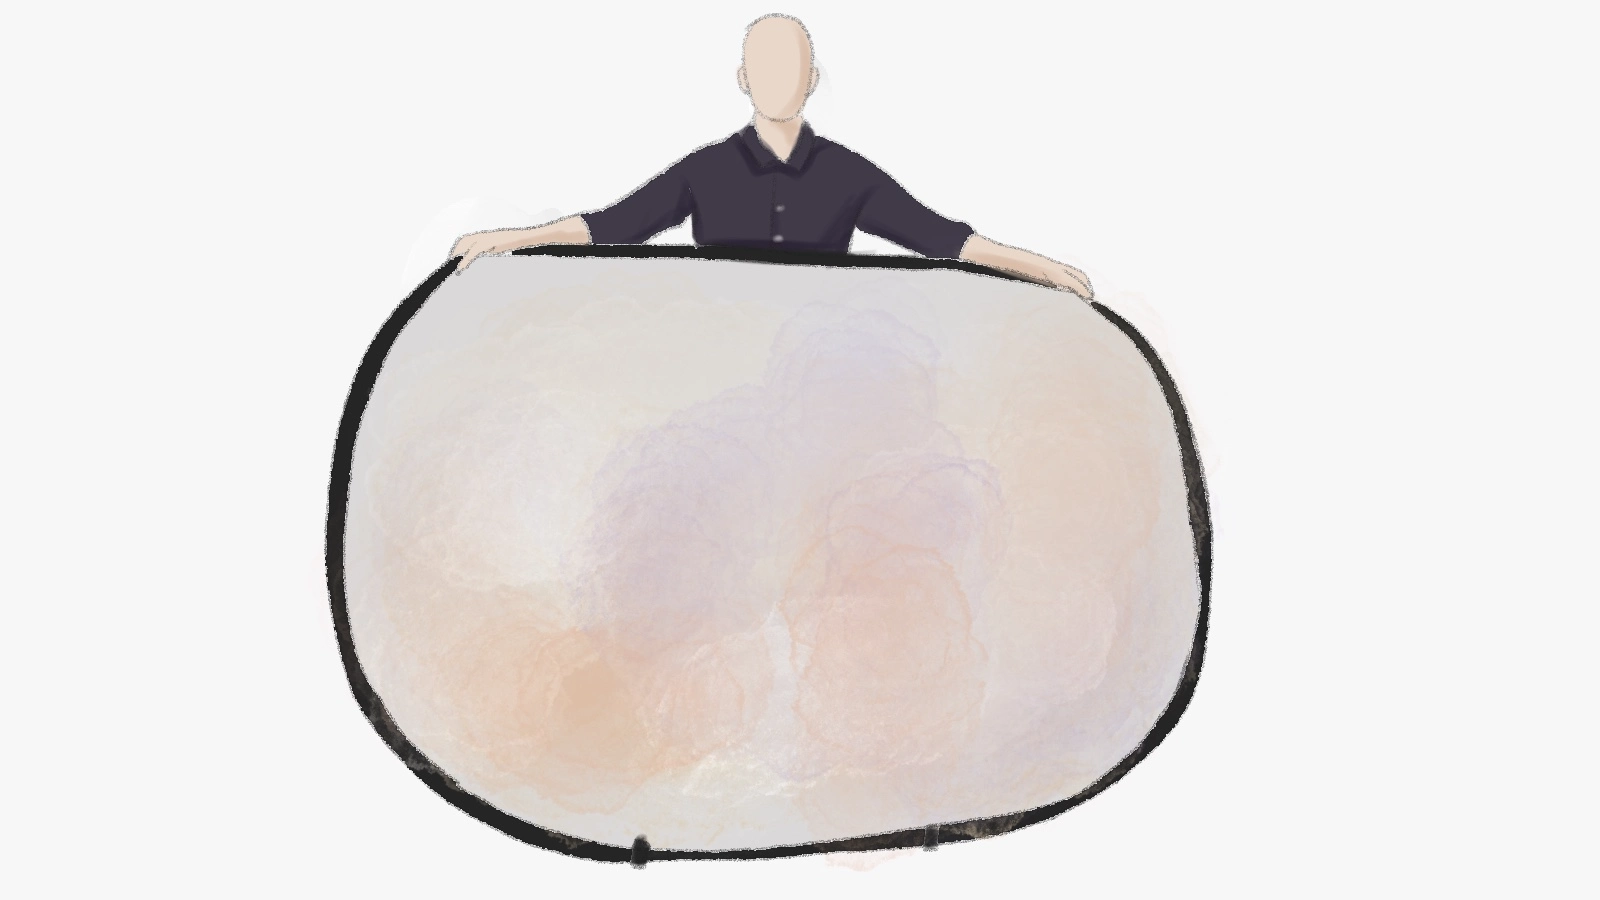 Position your hands firmly on the right and left sides of the collapsible backdrop. Ensure a secure grip to maintain control throughout the folding process. Hold the sides securely, making sure your hands are positioned evenly. A firm grip will give you the control you need to manipulate the backdrop into its compact form.
Step 2: Move both sides of the backdrop together, forming a "V" shape.
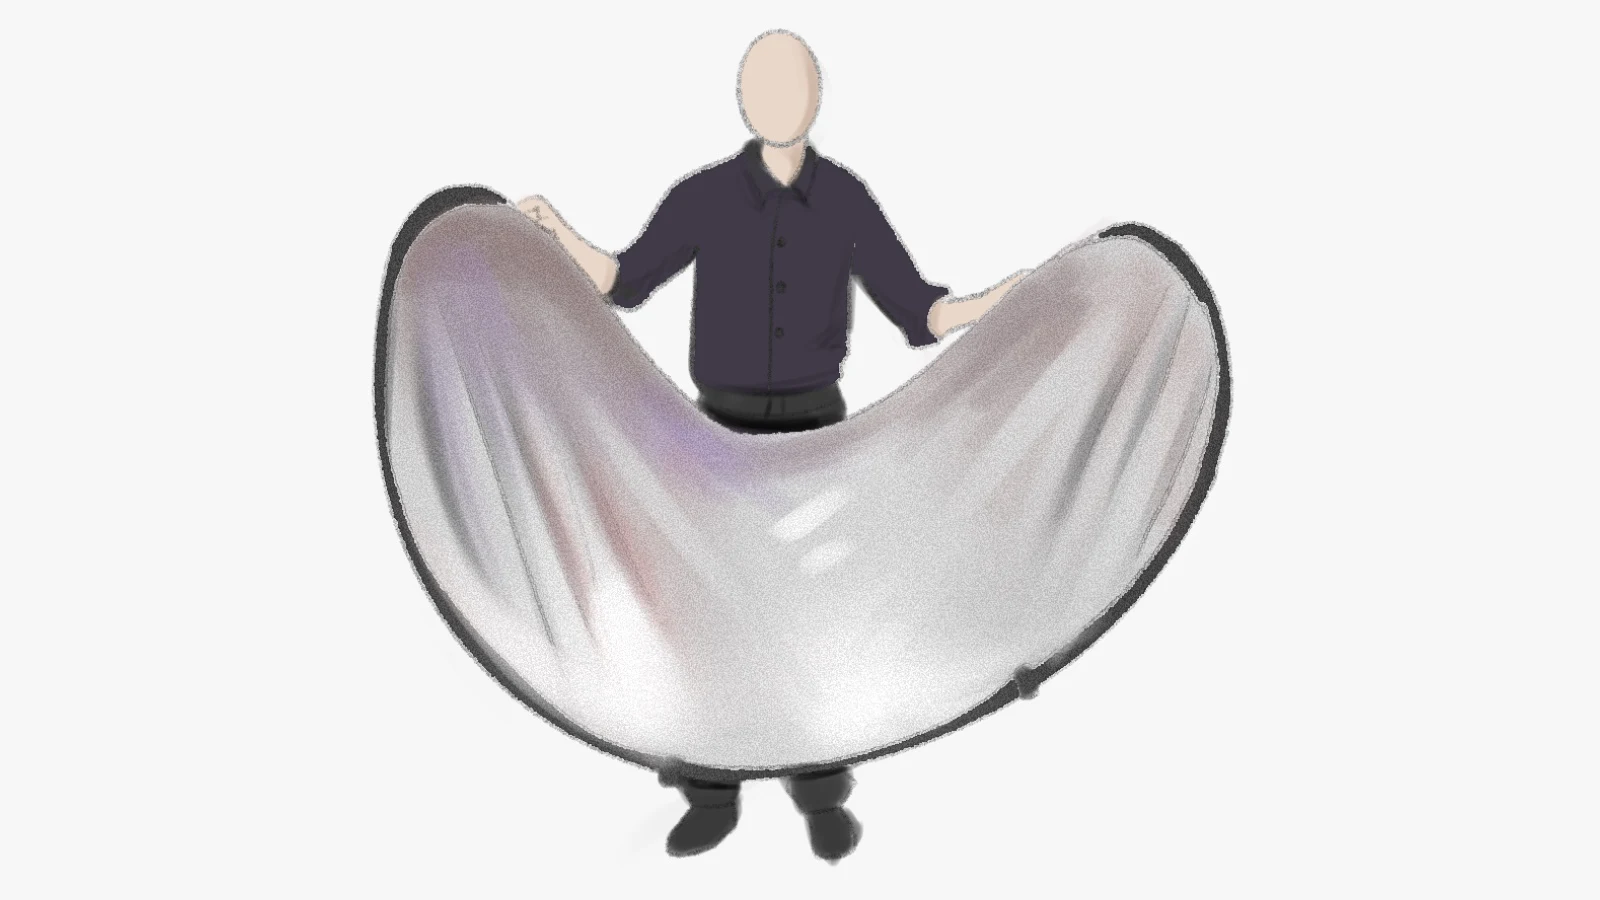 By bringing both sides of the backdrop together, you create a 'V' shape that sets the stage for the folding stages.
To execute this crucial step, move both sides of the backdrop towards the center. Ensure the edges align carefully for a smooth folding process. Keep the frame straight as you form the 'V' shape, maintaining the backdrop's structure.
Step 3: Overlap the top edges of the collapsible backdrop, ensuring that both sides touch each other.
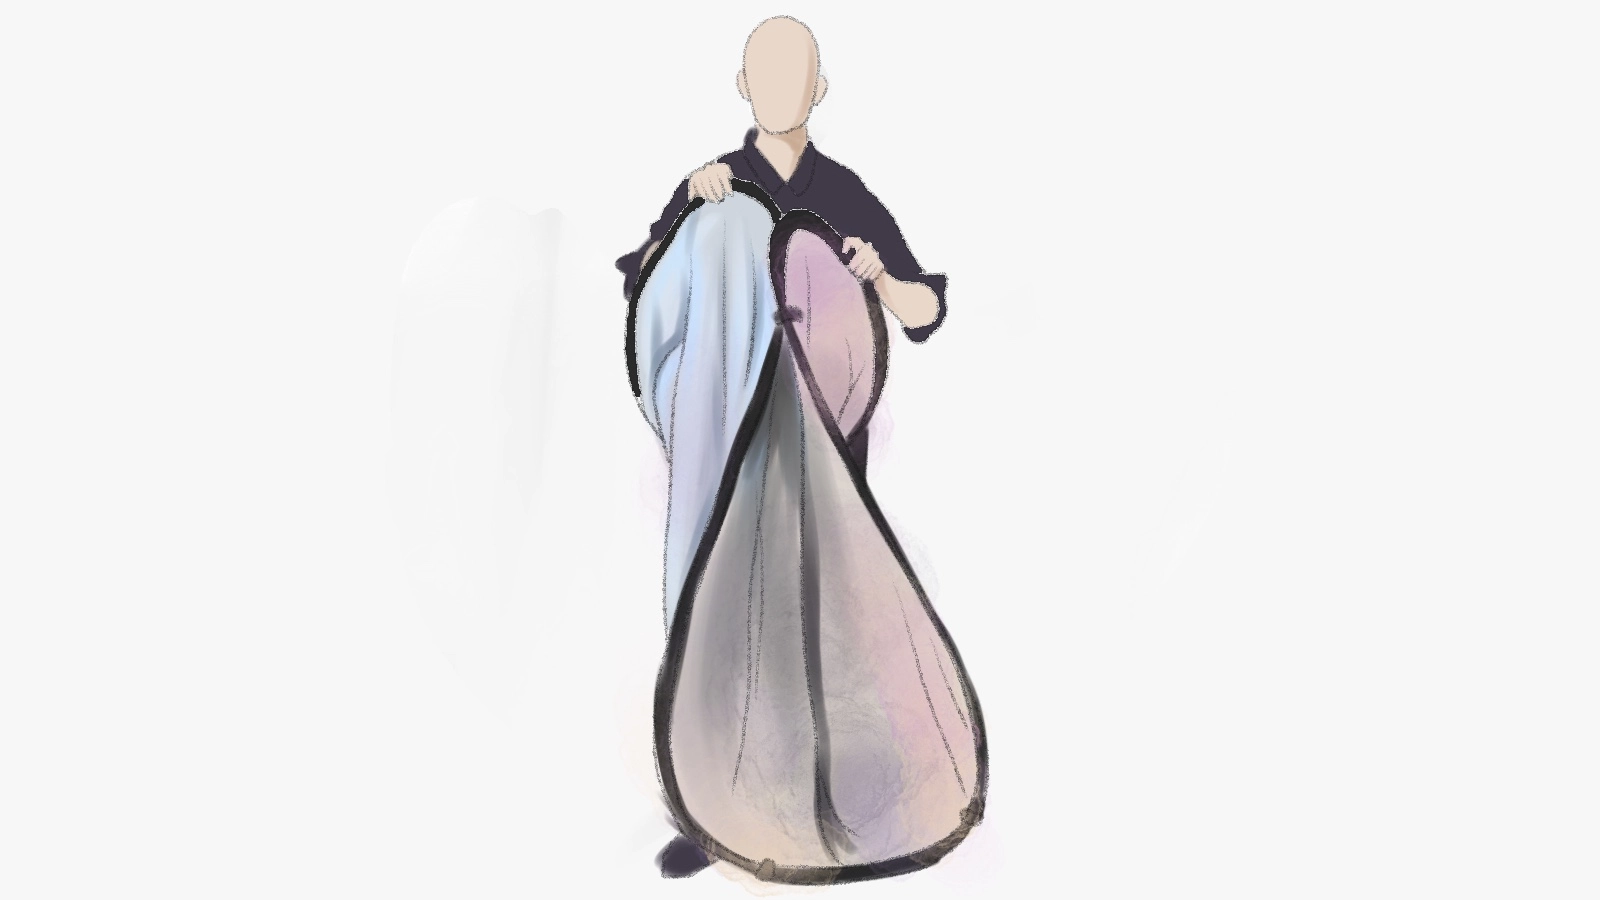 You'll now overlap the top edges of the collapsible backdrop. Ensure a snug fit by making sure both sides touch each other. As you overlap the top edges, ensure they align perfectly, with both sides touching each other. This will prevent any bulges or misalignment in the backdrop. A tight overlap is essential for a neat and professional appearance when folded.
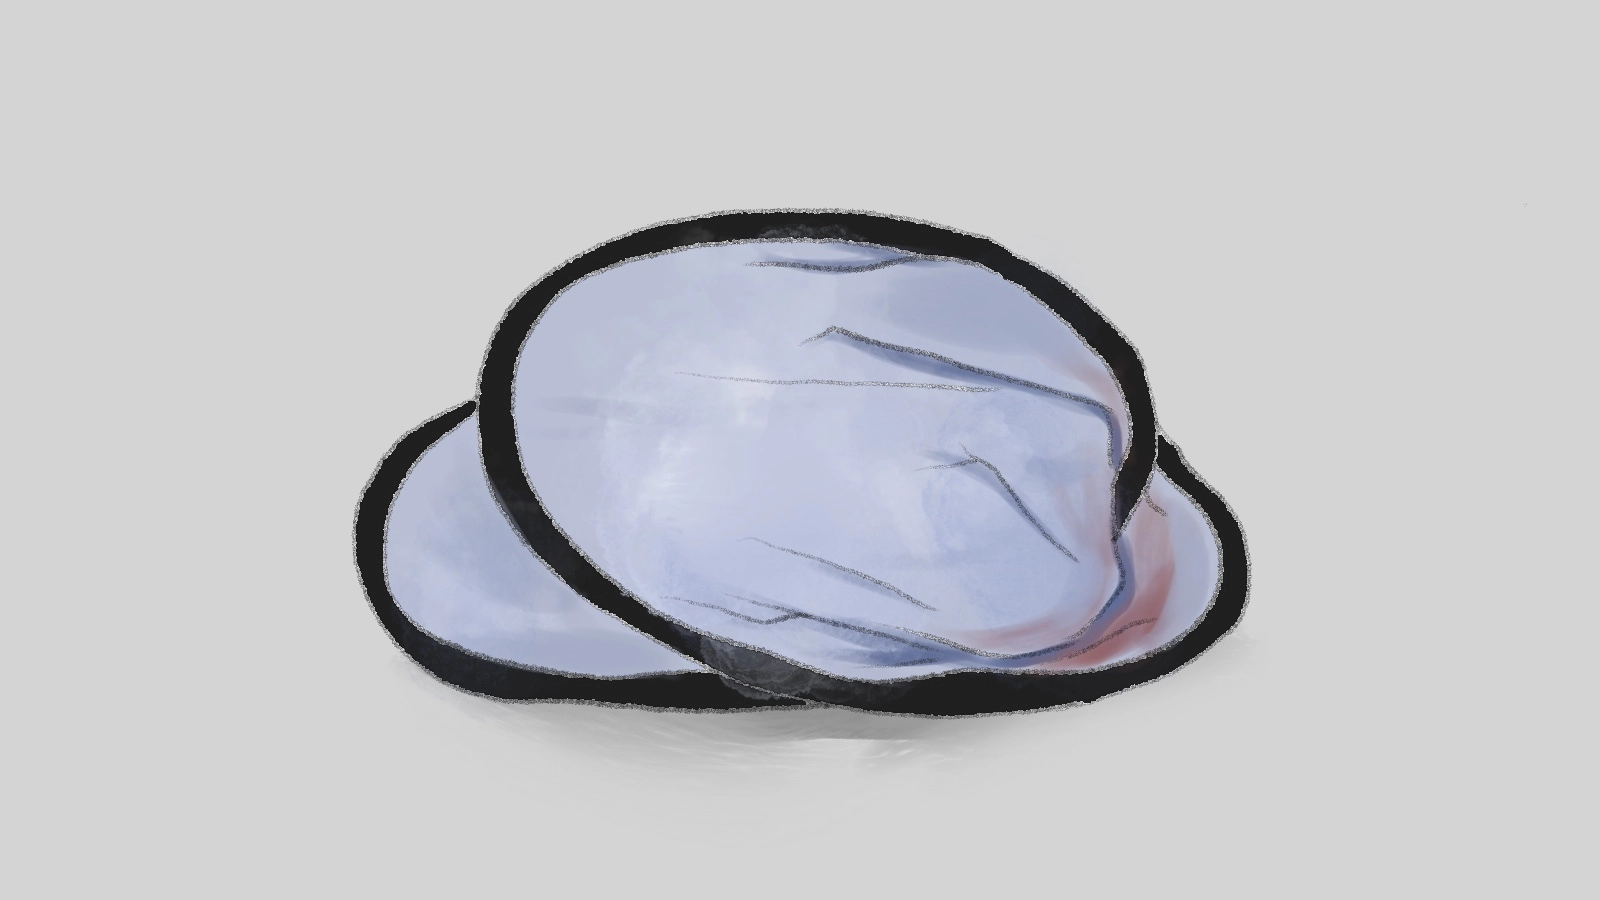
Step 4: Fold the bottom of the backdrop to form a circle shape.
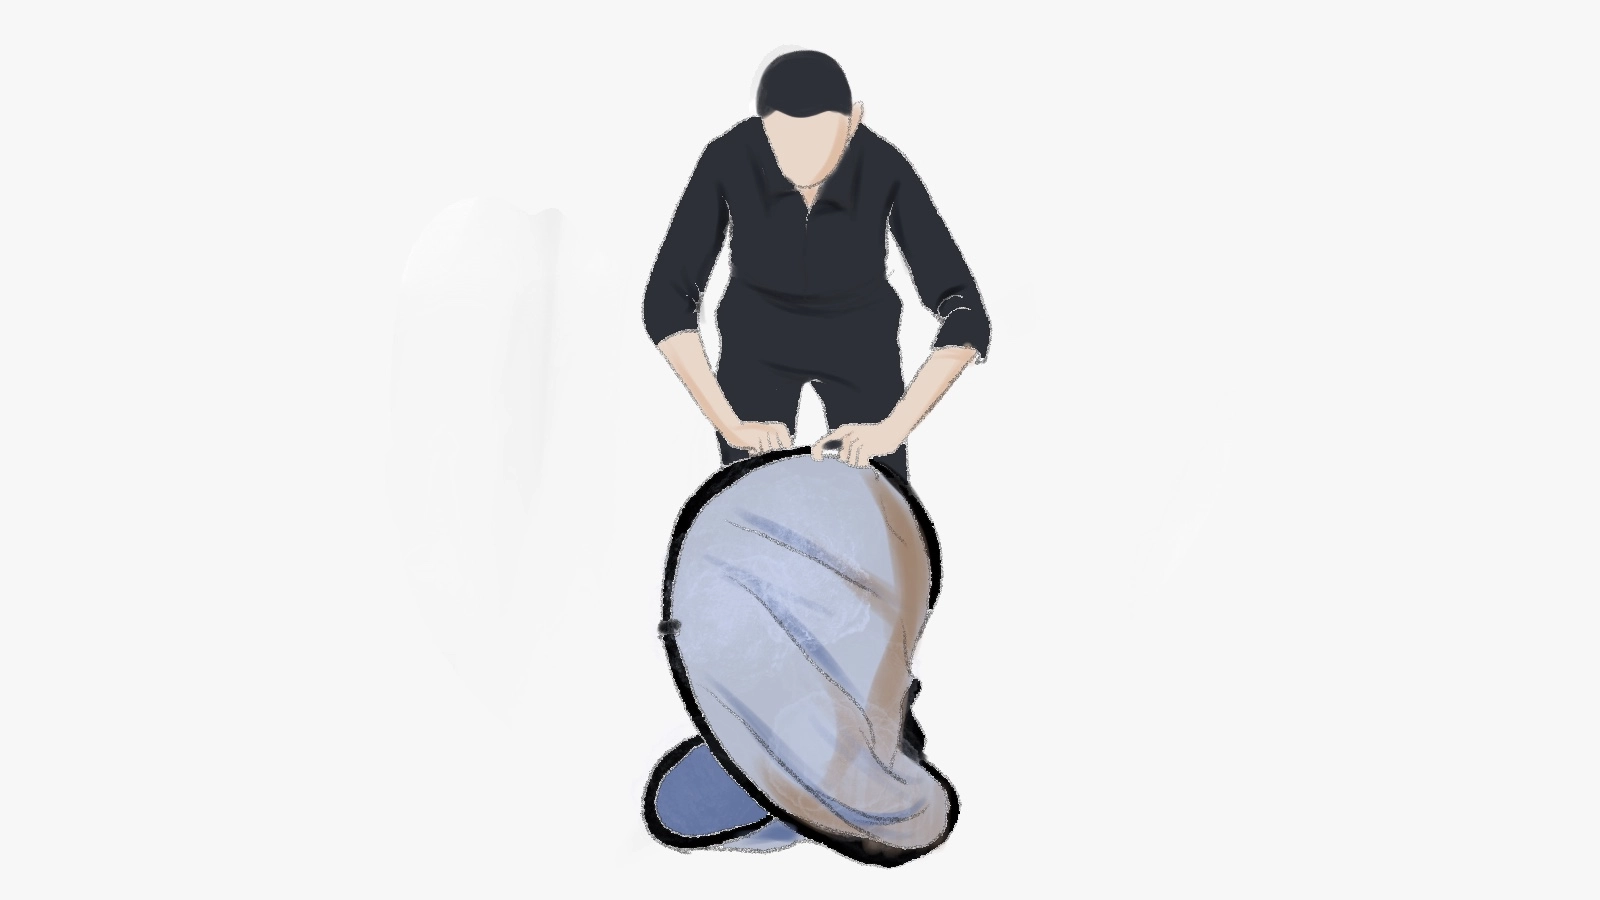 To form a circle shape, fold the bottom section of the backdrop upwards. Ensure the bottom edge aligns with the top edge of the backdrop. As you fold, focus on maintaining a circular shape. It aids in maintaining the overall structure of the backdrop when folded. By doing so, you'll create a neat and manageable shape that's perfect for storage.
Step 5: Store the backdrop in a carry bag.
 Collapse the backdrop into a compact circle and put it in the carry bag to keep it safe from dust and damage while transporting. Make sure the backdrop is properly folded to avoid any wrinkles or tangles.
You want to store it in a way that keeps it organized and easy to find. The carry bag is designed to keep your backdrop safe and secure, so take advantage of it.
Conclusion
You have skillfully folded your collapsible backdrop. Hold the compact circle in one hand, verifying the edges align and the structure remains intact.
Your backdrop is now ready for storage in its carry bag. The neat, uniform shape ensures a professional appearance and easy transport.